
You're looking at DIVEVOLK's product lineup and you're not sure what to buy. That's normal. Between three housing models, multiple lenses, several lights, and a camera app, there are a lot of possible combinations. This guide breaks it all down so you can build the right setup for how you actually dive — without overspending on gear you don't need.
Whether you snorkel on vacation twice a year or shoot macro on every weekend dive, there's a DIVEVOLK configuration that fits. We'll walk through each decision point: housing first, then accessories, lenses, the UWACAM app, and finally some ready-made setups for different diver types.
If you're brand new to underwater phone photography, our beginner housing guide is a good place to start before diving into this one. Already know the basics? Keep reading.
Start here: which housing model?
Every DIVEVOLK setup starts with a housing. The housing keeps your phone dry, lets you use the touchscreen at depth, and gives you mounting points for lights and lenses. DIVEVOLK makes three models in the SeaTouch 4 Max family. All three are rated to 60 meters (196 feet), all three support full touchscreen control, and all three work with both iOS and Android phones. The differences come down to materials, phone compatibility range, and a few design refinements.

For a detailed overview of the full lineup, see our housing series overview.
SeaTouch 4 Max — the standard
This is the model most people buy, and for good reason. It does everything you need a housing to do: waterproof seal, touchscreen pass-through, threaded port for lenses, cold shoe mounts for lights, and a lanyard attachment point. The build is polycarbonate with an aluminum alloy frame — light enough to travel with, tough enough for reef diving.
It fits most flagship phones from recent years. Check the compatibility list on the technical support page to confirm your phone fits before ordering.
If you're buying your first underwater phone housing and you don't have a specific reason to go higher, this is the one to get.
SeaTouch 4 Max Platinum — upgraded materials, wider fit
The SeaTouch 4 Max Platinum uses higher-grade aluminum and improved sealing. The internal cradle accommodates a wider range of phone sizes, which matters if you have a particularly large or thick phone, or if you switch phones often and don't want to worry about fit.
The Platinum also has a redesigned button layout and slightly better ergonomics in the hand. If you dive frequently — say, 50+ dives a year — the build quality difference is worth the price step-up. For occasional divers, the standard model is perfectly fine.
Read about the latest refinements in our Platinum V2 upgrades article.
SeaTouch 4 Max Plus — the flagship
The SeaTouch 4 Max Plus is the top of the line. It has the widest phone compatibility of any model, covering phones up to 180mm in length. The Plus uses a precision-machined body, an upgraded sealing gasket, and includes a vacuum seal test system. If you're shooting professionally or taking your housing into demanding conditions (cold water, repetitive deep dives, surf), the Plus gives you the most confidence in the seal.
It's also the heaviest and most expensive option. If you're a recreational diver doing warm-water vacations, you're paying for capability you probably won't use. But if you need it, it's there.
The ScubaLab Best Buy award from Scuba Diving Magazine was given to the SeaTouch 4 Max line, which tells you something about how it stacks up in independent testing.
Decision matrix: which housing for which diver?
Here's a quick way to think about it:
- SeaTouch 4 Max — You snorkel or dive recreationally, you have a common flagship phone, you want to keep the cost reasonable. This covers 80% of buyers.
- SeaTouch 4 Max Platinum — You dive regularly, you want better build quality and wider phone compatibility, you plan to keep the housing for several phone upgrades.
- SeaTouch 4 Max Plus — You shoot seriously, you dive in varied conditions, you want the best seal and the widest phone compatibility available.
Still not sure? Our cheap vs premium housing comparison explains what you actually get when you spend more on a housing.
Essential accessories: what to buy first
You have a housing. Now what? Resist the urge to buy everything at once. Take the housing on two or three dives with just your phone inside. See what you feel is missing. For most people, the answer will be light.

Video lights — upgrade number one
Water eats light. Red disappears by 5 meters. By 15 meters, everything looks blue-green. A video light restores color and lets you shoot in conditions where natural light alone produces flat, monochrome images.
DIVEVOLK offers several lighting options:
- SL20 (2,000 lumens) — A solid all-around light. Enough output for macro work and close-range reef shots. Good battery life, compact size. This is what most people should start with.
- SL120 (12,000 lumens) — A serious output light for wide-angle shooting, video, and low-light conditions. If you shoot a lot of video or dive in murky water, this makes a real difference. It's bigger, heavier, and more expensive, but the coverage area and power are in a different league.
One light is fine to start. You mount it on a cold shoe or attach it to a tray arm. Two lights (one on each side) eliminate harsh shadows and give you more even coverage, but that's a setup to grow into, not something you need on day one.
Our video light review compares the full range in detail. For information on mounting lights with flexible positioning, see our ball-joint clamps guide and fiber optic controller overview.
Tray and handles — stability matters
A tray mounts under the housing and gives you two handles to grip. This does three things: it stabilizes your shots (especially video), it gives you mounting points for lights on either side, and it makes the whole rig easier to hold with gloves on.
Do you need one? If you're adding lights, yes — you'll want the arms to position them. If you're shooting with just the housing, you can skip it for now. Freedivers often skip the tray entirely to keep the setup streamlined.
Lanyard — don't skip this
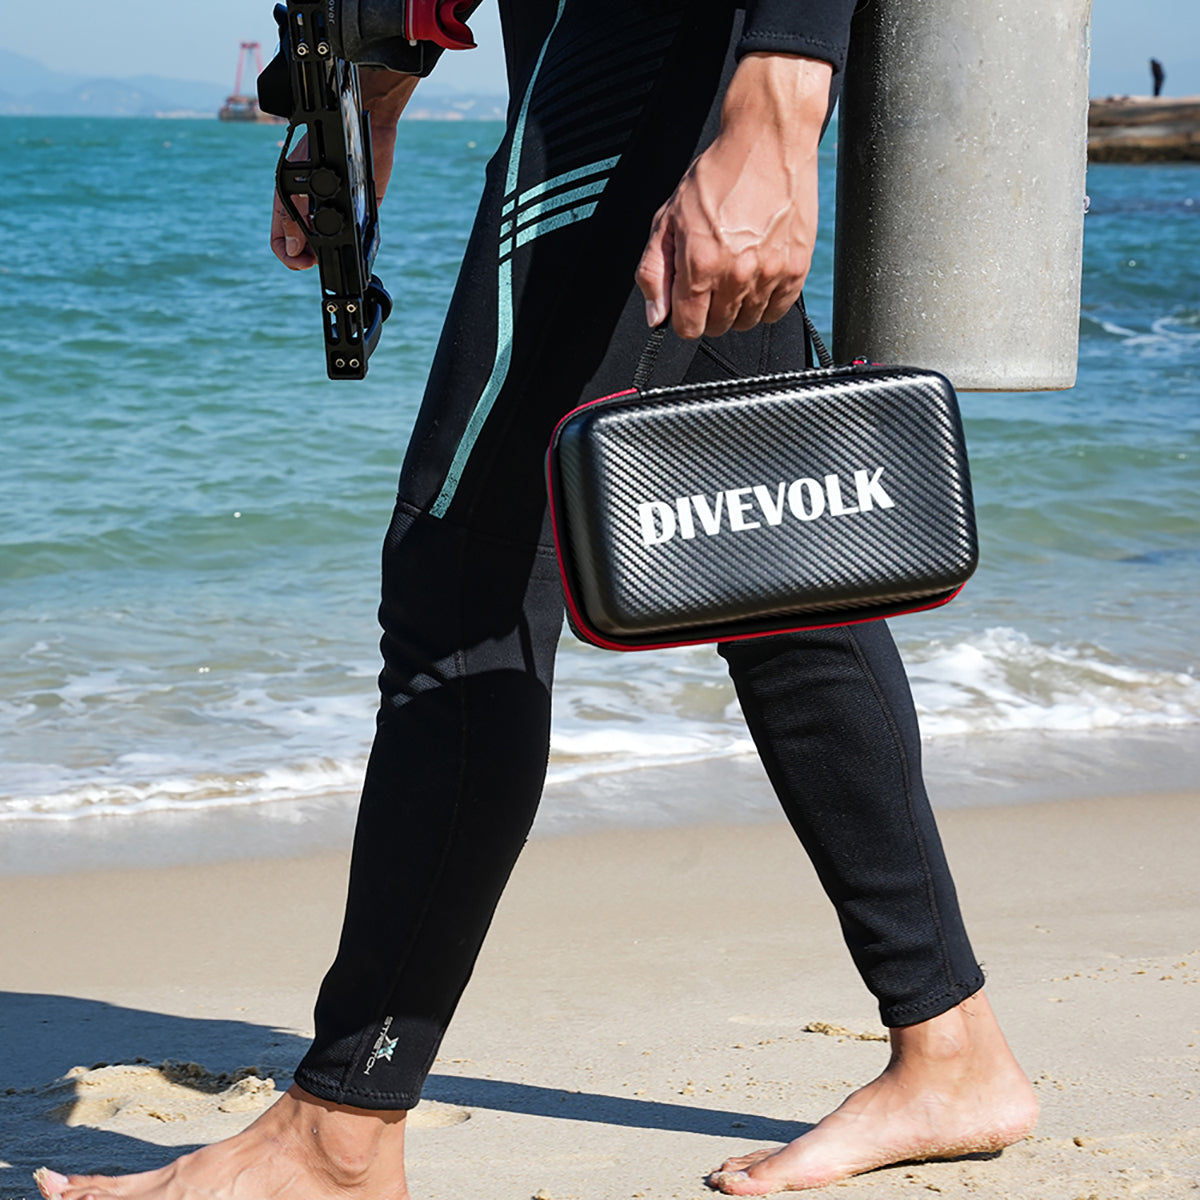
A wrist or clip lanyard keeps the housing attached to you. This sounds like a minor accessory until you're at 20 meters, distracted by a passing manta ray, and your fingers relax without you noticing. Losing a housing with your phone inside is an expensive mistake and an entirely preventable one. Buy the lanyard. Use it every dive.
Other accessories worth knowing about
DIVEVOLK makes several specialized accessories that solve specific problems:
- External shutter button — Lets you trigger the shutter without touching the screen, which reduces camera shake. Good for macro. See our external shutter guide.
- Cold water finger sleeves — If you dive in cold water, thick gloves make the touchscreen harder to use. These sleeves solve that. Details in the cold water finger sleeves article.
- Lens pocket — A neoprene pouch for carrying a spare lens on your BCD. Handy if you want to swap between macro and wide-angle mid-dive. Our lens pocket guide explains how to use it.
Lenses: macro vs wide-angle
Phone cameras have one focal length (or a few, if your phone has multiple rear cameras). Underwater, that's a limitation. Wet lenses screw onto the housing's port and change what you can shoot. DIVEVOLK makes three: two macro lenses and one wide-angle.
You don't need a lens to start. Plenty of great underwater photos are shot with just the phone's native camera. But if you want to specialize — tiny creatures or big reef scenes — a lens opens that up.
+8 macro lens — general macro
The +8 macro lens is designed for subjects in the 2-10 cm range: nudibranchs, shrimp, small fish, coral polyps. It lets you focus closer than the phone can on its own, filling the frame with small subjects that would otherwise be tiny specks in your image.
This is the lens to buy if you're curious about macro but haven't committed to it as your main thing. It's forgiving — the working distance (how far the lens needs to be from the subject) is generous enough that you don't need perfect buoyancy to get sharp shots. The touchscreen advantage for macro is real here: you can tap to focus precisely on the part of the creature you want sharp.
PRO +18 macro lens — supermacro
The PRO +18 macro lens is for dedicated macro shooters. It magnifies much more than the +8, letting you fill the frame with subjects smaller than your fingernail — pygmy seahorses, skeleton shrimp, tiny commensal shrimp on anemones.
The trade-off is a shorter working distance. You need to get the lens very close to the subject, which means your buoyancy has to be excellent and you need patience. A light is almost mandatory with the +18 because at that magnification, you need fast shutter speeds to avoid motion blur, and fast shutter speeds need a lot of light.
Our +8 vs +18 comparison breaks down exactly when each lens is the right choice.

0.6X wide-angle lens — reef scenes and large animals
The 0.6X wide-angle lens widens your field of view. This is the lens for reef panoramas, swim-throughs, large animals (sharks, mantas, turtles), and split shots (half above water, half below).
Wide-angle is less technically demanding than macro. The bigger challenge is composition — with so much in the frame, it's easy to produce cluttered images. Get close to your main subject, use a light to add foreground color, and let the blue water fill the background.
If you're interested in split shots (over/under), you'll want the wide-angle lens plus the dome port. Our dome port and split shot guide covers the technique.

Which lens for which subjects?
- Nudibranchs, shrimp, coral detail → +8 macro (start here) or +18 for extreme close-up
- Small fish, anemones, sea slugs → +8 macro
- Reef scenes, shipwrecks, caverns → 0.6X wide-angle
- Sharks, mantas, turtles → 0.6X wide-angle or native lens
- Split shots → 0.6X wide-angle + dome port
- General reef diving with variety → Native lens (no attachment) covers most situations
Browse the full lens collection to see current options and pricing.
The UWACAM app
Your phone's stock camera app works underwater, but it wasn't designed for it. UWACAM was. It's a camera app built specifically for underwater use with DIVEVOLK housings, and it makes a real difference in the results you get.
Why it matters
Three things UWACAM does that your stock camera app doesn't:
UWACOLOR — This is automatic underwater color correction. Instead of fighting with white balance after every depth change, UWACOLOR adjusts in real time as you descend. It's not perfect in every situation, but it gets you 80% of the way there, and that's a huge head start compared to shooting in blue-green and trying to fix it later.
Manual controls — ISO, shutter speed, white balance, focus — all adjustable on screen. The PRO mode gives you the same control you'd have on a dedicated camera. This matters below 10 meters where auto mode starts making bad decisions about exposure.
RAW capture — Shooting RAW saves the full sensor data instead of a compressed JPEG. If you plan to edit your photos afterward (and you should, at least for color correction), RAW gives you far more flexibility. You can recover highlights, push shadows, and adjust white balance without the quality loss you get from editing a JPEG.
Our UWACAM deep-dive guide walks through every feature in detail.
iOS vs Android
UWACAM started on iOS and the iOS version is more mature. It has more features, more frequent updates, and has been tested across more phone models. The Android version is available and covers the core features — UWACOLOR, manual controls, RAW — but some advanced features arrive on iOS first.
If you're choosing a phone specifically for underwater work, this is worth considering. But don't let it be the deciding factor. Both platforms produce excellent results.
Kits vs buying individual pieces
DIVEVOLK sells kits that bundle a housing with accessories — typically a light, tray, and sometimes a lens. The question is whether a kit is a better deal than buying the same items separately.
When a kit saves money
If you already know you want a housing + light + tray, the kit price is usually lower than buying each piece individually. Kits also save you the guesswork of making sure everything is compatible — the tray fits the housing, the light mount fits the tray, and so on.
Kits make the most sense when you're starting from zero and you know you'll be diving enough to use the full setup. If you're planning a dive trip and want to show up ready to shoot, a kit gets you there in one purchase.
When individual pieces make more sense
If you already own some accessories, buying individual pieces lets you fill gaps without duplicating what you have. It also makes sense if you're not sure what you need yet. Start with just the housing, take it diving, and then add accessories based on what you actually want — not what a kit assumes you want.
Budget-conscious buyers might prefer to spread the investment over time: housing now, light next month, lens after that. Each piece works on its own.
Setup by diver type
Here are six common use cases with specific gear recommendations. Find the one that sounds like you.
The snorkeler
What you need: SeaTouch 4 Max (standard) + lanyard. That's it.
You're in shallow water with plenty of natural light. The phone's stock camera or UWACAM in auto mode will handle exposure. You don't need a light (the sun is right there), you don't need a tray (one-handed shooting is fine for snorkeling), and you probably don't need a lens unless you're specifically chasing macro subjects in tide pools.
Total investment is the housing alone. If you enjoy it and want to do more, everything else can be added later.

The recreational diver
What you need: SeaTouch 4 Max or Platinum + SL20 light + tray + lanyard.
You dive on vacations and weekend trips. You want good photos of the reef, the fish, and your dive buddies. The SL20 gives you enough light for color restoration down to 20-25 meters. The tray stabilizes your shots and gives you something solid to hold. UWACAM in AUTO mode with UWACOLOR handles the color science.
This setup covers 90% of recreational dive photography. It packs flat for travel and doesn't take up much space in a dive bag.
For a step-by-step guide to getting started with this kind of setup, see our getting started guide.
The macro enthusiast
What you need: SeaTouch 4 Max Plus or Platinum + +8 macro lens (or +18 for supermacro) + SL20 light + lens pocket + external shutter.
You're the diver who spends 45 minutes on a single coral head, looking for nudibranchs. The macro lens is your primary tool. The light is non-negotiable — macro at close range needs a lot of light for sharp, well-exposed shots. The external shutter reduces camera shake when you trigger the shot. The lens pocket lets you carry the wide-angle or a spare macro, but honestly, most macro shooters just mount their lens at the start and leave it on.
Start with the +8. If you find yourself wanting more magnification after 20-30 dives, the +18 is waiting for you. Our +8 vs +18 comparison will help you decide when to make that jump.
The wide-angle and video shooter
What you need: SeaTouch 4 Max Plus or Platinum + 0.6X wide-angle lens + SL120 light (or dual SL20s) + tray with arms.
You want dramatic reef scenes, big animal encounters, and cinematic video. Wide-angle with strong lighting is the formula. The SL120's 12,000 lumens give you coverage across a wide beam, which matters when your lens is capturing a broad field of view. Two smaller lights (SL20 on each side) can work too, and give you more control over shadow direction.
The tray and dual arms are close to mandatory here. Wide-angle shots and video both suffer from instability, and holding a light in each hand while also holding the housing isn't practical.
For a broader look at camera choices for underwater photography in 2026, see our smartphone vs camera comparison.
The freediver
What you need: SeaTouch 4 Max (standard or Platinum) + lanyard. Maybe one small light.
Freedivers need to move efficiently. Every piece of gear adds drag, and you can't spend 30 seconds fiddling with lights on a breath hold. The housing alone, used one-handed, is the typical freediving setup. You're shooting in the top 10-20 meters where natural light is usually sufficient. If you're working on your breath-hold technique, PADI's freediving resources are worth a look.
If you freedive deep or in lower-visibility conditions, a single compact light clipped to the housing (no tray, no arms) adds color without much bulk. Skip the tray. Skip the lenses unless you're doing dedicated macro or wide-angle sessions where you have time to set up between dives.
The surf and ocean sports photographer
What you need: SeaTouch 4 Max Plus + lanyard (heavy-duty) + wrist strap.
You need a housing you can grab and go. No time for assembly. The Plus model's robust build handles the impact and turbulence of surf conditions. A secure wrist attachment is more important here than in any other use case — waves will rip things out of your hands.
Forget the tray and lights. You need one hand free for swimming and wave management. Shoot with natural light, use the stock camera app or UWACAM in AUTO mode, and focus on timing and positioning rather than technical camera settings.
Phone compatibility
One thing to check before you order: does your phone fit? DIVEVOLK housings are designed to work with a wide range of phones, but dimensions vary. The Plus model accepts the widest range. The Platinum sits in the middle. The standard model covers most popular flagships.
Phone-specific guides for popular models:
For other phones, check the technical support page for the compatibility chart, or contact the team with your phone model.
Care and maintenance basics
A housing is a precision instrument with a sealing gasket, optical glass, and mechanical parts. Take care of it and it will last years. Neglect it and you'll find water where it shouldn't be.
The short version:
- Before every dive: Inspect the sealing gasket for hair, sand, and debris. Apply a thin layer of silicone grease if it looks dry. Check the port glass for cracks or scratches. Do a vacuum test if your model supports it. Divers Alert Network (DAN) recommends treating gear checks as part of your overall dive safety routine — the housing is no exception. Our pre-dive checklist covers this step by step.
- After every dive: Rinse in fresh water. Soak for 10-15 minutes if possible. Work the buttons and controls while submerged to flush out salt crystals. Dry completely before opening. Never open the housing while it's still wet on the outside — drips can reach the phone. Full instructions in our post-dive cleaning guide.
- Sealing gasket care: The sealing gasket is the single most important seal component. Clean its groove periodically, inspect the gasket for nicks or flat spots, and lightly re-grease it with silicone. Avoid stretching or twisting it during cleaning.
- Storage: Store the housing open (so the gasket isn't compressed), in a cool dry place, out of direct sunlight. Remove the phone between dive trips.
If your phone ever gets stuck inside the housing — it happens, usually because of thermal expansion or a tight case — don't force it. Our phone stuck fix guide walks you through safe removal.
For a deeper look at how the housing is engineered, including why DIVEVOLK chose not to include a vacuum leak alarm, see our design philosophy article. The operational guide covers day-to-day use in detail.
Where to buy
DIVEVOLK products are available through several channels:
- Official website — divevolkdiving.com has the full range, including kits and bundles. This is the best place to check compatibility, read specs, and see what's currently in stock.
- Amazon — Available in multiple regions. Useful if you have Prime shipping or store credit. Product selection may be smaller than the official site.
- Authorized dealers and dive shops — Some dive shops carry DIVEVOLK gear, especially in Asia-Pacific. The advantage is hands-on experience before buying. Ask your local shop.
If you have questions about which setup is right for you, the DIVEVOLK team responds to inquiries through their contact page. They're used to helping people figure out the right configuration.
Our ultimate buying guide has more detail on purchasing options, regional availability, and current promotions.
Putting it all together
Here's the simplest way to think about building your DIVEVOLK setup:
- Pick a housing based on how often you dive and what phone you have. When in doubt, the standard SeaTouch 4 Max is the safe choice.
- Take it diving a few times with nothing else attached. Learn the controls, figure out what you wish you had.
- Add a light when you want better color and the ability to shoot deeper. The SL20 is the right starting light for most people.
- Add a lens when you know whether you're drawn to tiny creatures (macro) or big scenes (wide-angle).
- Add a tray when you have enough accessories that holding everything gets awkward.
There's no rush. Each piece works independently, and you can build your system over months or years as your diving and photography evolve.
For the complete photography workflow — settings, technique, composition, lighting, and post-processing — our underwater smartphone photography guide picks up where this buying guide leaves off. And if you're looking for destinations to put your new gear to work, check our best dive destinations for underwater photography.
Happy diving. Whatever setup you choose, the best camera underwater is the one you actually bring with you — and a phone in a good housing is the easiest to bring every single time.
Questions? Reach out through our contact page or check our technical support resources for manuals, compatibility charts, and how-to videos. Safe diving out there.
