
Five years ago, the idea of shooting serious underwater photos on a phone would have gotten you laughed out of any dive shop. Not anymore. The cameras in flagship phones now rival dedicated compact cameras in sensor quality, dynamic range, and low-light performance. Pair that with a proper underwater housing and you have a setup that fits in a BCD pocket and produces images good enough for international competitions.
This guide covers everything you need to go from zero to confident underwater phone photographer. Each section gives you the core ideas, then links to our in-depth articles where you can dig deeper. Bookmark this page — it's your home base.

Already have some experience? Jump to color science, macro and wide-angle, or contests.
Gear essentials: what you actually need
Let's cut through the noise. You need three things to shoot underwater with a phone: a phone with a good camera, a waterproof housing, and a way to light your subject. Everything else is optional — useful, but optional.
The phone
Any flagship phone from the last two years will do the job. iPhones, Samsung Galaxy S-series, Xiaomi — they all have capable sensors. What matters more than megapixels is how the phone handles processing. Computational photography (the software that runs after you press the shutter) is where phones beat traditional cameras. HDR stacking, noise reduction, and automatic scene optimization happen in milliseconds.
That said, some phones are better for underwater work. You want a phone with manual control over ISO and shutter speed, or one that works with a camera app like UWACAM that gives you that control. Auto mode is fine for snorkeling, but once you go deeper than 5 meters, you need to take charge of exposure.
The housing
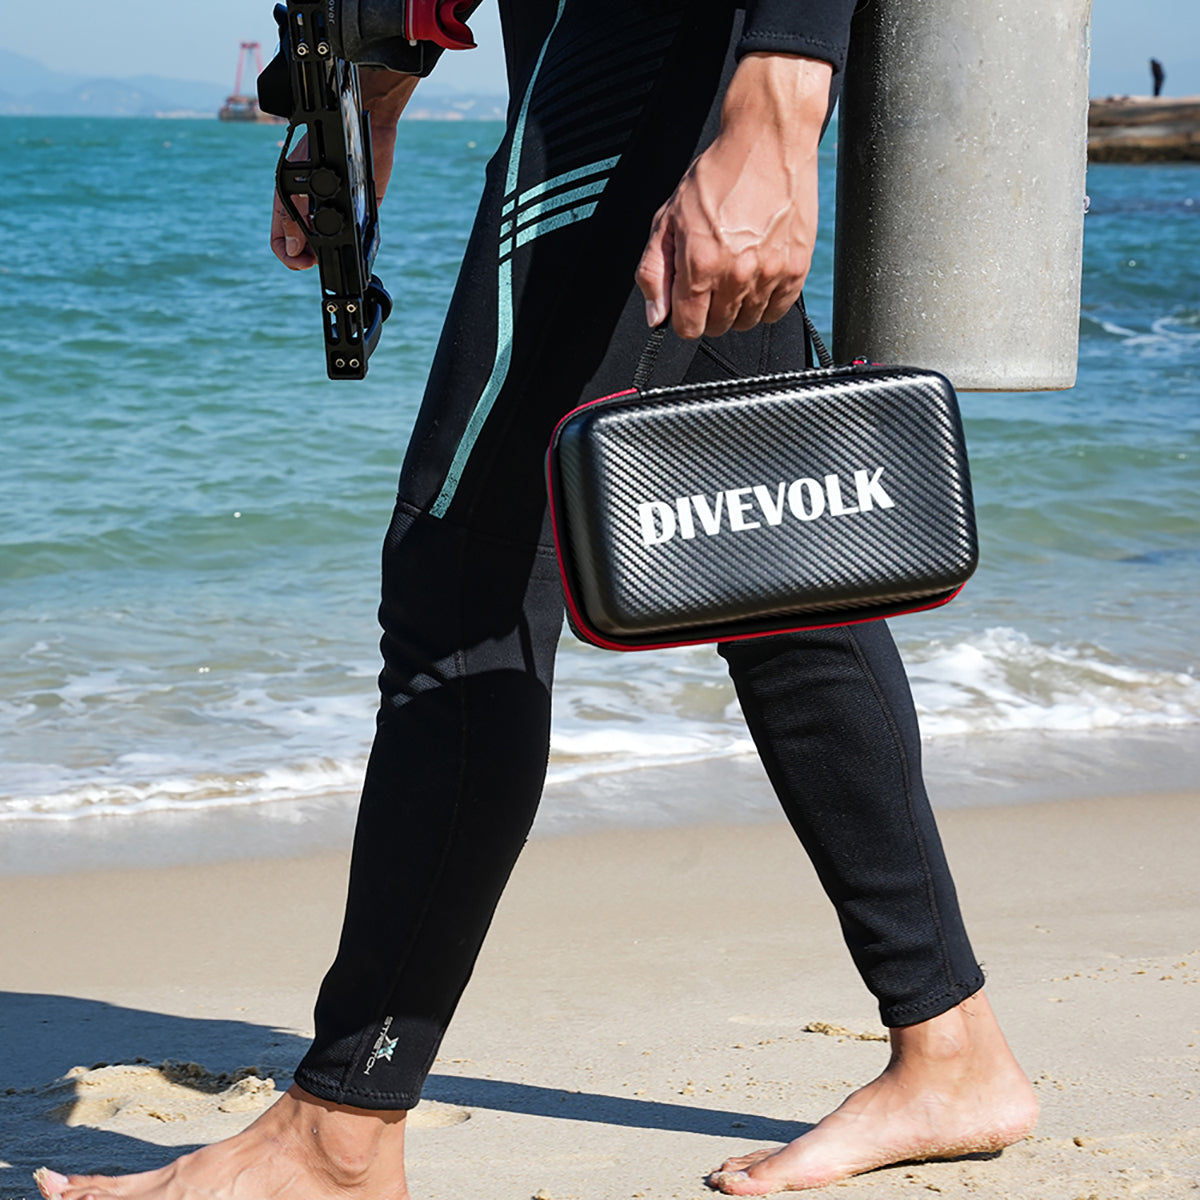
A housing is not optional. IP68 ratings on phones protect against brief accidental submersion, not a 20-meter dive. You need a purpose-built underwater phone housing rated to your diving depth. The SeaTouch 4 Max line from DIVEVOLK is rated to 60 meters and — this is the big deal — lets you use the phone's touchscreen underwater. That means you can switch lenses, adjust exposure, change modes, and review shots the same way you do on land.
Other housings use mechanical buttons. They work, but you're limited to whatever functions those buttons are mapped to. The touchscreen approach gives you the full phone interface at depth. Not sure which model to pick? Our DIVEVOLK buying guide compares every housing and accessory.
Accessories
Start with just the housing and phone. After your first few dives, you'll know what you need next. Most people add a video light first (we'll cover that in the lighting section), then lenses. Macro and wide-angle attachments screw onto the housing port and open up entirely different kinds of shots.
For a detailed breakdown of how phones compare to action cameras and dedicated camera systems, read our underwater camera gear guide. If you're specifically weighing phone versus action cam, we have a head-to-head comparison and a three-way showdown that includes DSLRs.
Camera settings that actually matter underwater
Forget everything auto mode does on the surface. Underwater is a different world with different rules, and your camera settings need to reflect that.
ISO
Keep it as low as you can. ISO 50-200 in shallow water with good light. ISO 400-800 when it's darker. Going higher introduces noise, and noise underwater looks terrible because it shows up in the blue water background where there's no texture to hide it. If you're shooting deeper than 15 meters without a light, you'll be pushing ISO 800-1600, and at that point a video light is not a luxury — it's a requirement.
White balance
Auto white balance fails underwater. Always. The camera sees all that blue and tries to compensate, often overcorrecting into orange or leaving you with flat cyan images. Set a custom white balance using a gray or white reference at your depth. Some apps, including UWACAM, let you set this with a single tap. Do it every time you change depth by more than a few meters.
Our custom white balance guide walks through the exact steps.
Exposure
Underexpose slightly. Pulling detail out of shadows in post-processing is much easier than recovering blown highlights. If your subject is backlit (a silhouette against the surface, for example), tap to meter on the subject and lock the exposure there. The background will blow out, and that's fine — it often looks great.
For a full walkthrough of UWACAM's manual controls, including RAW shooting and LUT previews, see our deep-dive UWACAM guide. Our 5 core tips for sharp underwater photos covers settings and technique together.
Composition and technique
Good underwater photos follow the same composition principles as good land photos — with a few twists forced on you by physics.
Get close, then get closer
This is rule number one. Water is 800 times denser than air. Every centimeter between you and your subject adds haze, reduces contrast, and shifts color. If you think you're close enough, move forward another half meter. The single biggest improvement most beginners can make is simply reducing the distance to their subject.
Shoot upward
Shooting slightly upward puts your subject against the blue water column or the bright surface, which separates it from the reef background. Shooting down pins your subject against cluttered coral or sand and makes it hard to read. There are exceptions — flatfish, for instance — but "angle up" is a strong default.
Use the rule of thirds, but break it on purpose
Center your subject when symmetry calls for it (jellyfish, head-on turtle shots). Use off-center placement when you want to show the environment. The point is to make a deliberate choice, not to follow a formula blindly.
Buoyancy is your tripod
Shaky hands are bad on land. Underwater, add surge, current, and the fact that you're floating in three dimensions. Good buoyancy control is the single most important photography skill that has nothing to do with photography. If you can't hold still at a specific depth without kicking or adjusting, you can't frame a shot. Practice neutral buoyancy until it's automatic. PADI's training resources are a good starting point if you need to work on this.
If you're just starting out, our beginner's complete guide and first dive photo guide cover the basics without overwhelming you. For video-specific composition tips, check our underwater video guide.
Lighting: natural and artificial
Water absorbs light. That's the fundamental problem. At the surface, you have full spectrum. At 5 meters, red is fading. At 15 meters, it's gone. By 30 meters, you're living in a blue-green world. Understanding this determines whether your photos look alive or washed out.
Natural light
Shoot between 10 AM and 2 PM when the sun is high and penetrating straight down. Overcast days actually work well — the diffused light reduces harsh shadows. In shallow water (0-5 meters), natural light is all you need. This is where snorkeling photography shines.
Sunbeams through the surface make for dramatic shots. Position yourself looking upward with the sun behind your subject for a silhouette, or behind you for even illumination on the reef.
Video lights
Below 5 meters, you need artificial light to restore color. Video lights (continuous lights, as opposed to strobes that flash) are the standard choice for phone photography because your phone's screen gives you a live preview of exactly how the light looks. What you see is what you get.
Lumens matter, but not as much as beam angle and color temperature. A wide, warm beam looks more natural than a narrow, cool spotlight. Position the light off to the side and slightly above your subject — never mounted directly on top of the housing pointing straight ahead. Front-on light flattens everything and lights up backscatter (the particles floating in the water that turn into white dots in your image).
For a full breakdown of DIVEVOLK's lighting options, including the SL20 and SL120, see our video light review. If you want remote light control, our fiber optic controller guide explains how.
Blackwater and night diving
Blackwater photography — shooting planktonic creatures against the open ocean at night — is one of the most exciting niches in underwater photography right now. It requires specific lighting setups and techniques. Our blackwater hunting in Anilao article shows what's possible with a phone. For inspiration on what great underwater lighting can achieve, see our award-winning night shot analysis.
Color science: why everything looks blue and what to do about it
This section alone will improve your photos more than any gear upgrade. Color loss underwater follows a predictable pattern based on physics, and once you understand it, you can fix it.

How water steals color
Water absorbs light wavelengths selectively. Red goes first (around 5 meters). Orange follows. Then yellow. By 20-25 meters, almost everything looks blue-green. This isn't a camera problem — your eyes see it too, though your brain partly compensates. The camera doesn't.
For the full physics explanation with depth charts, read why colors fade underwater. It's one of our most-read articles for good reason.
Three ways to fix it
Option 1: Filters. A red or magenta filter over your lens adds back the color that water takes away. Red filters work in blue tropical water; magenta works better in green water (lakes, temperate oceans). Filters are passive — no batteries, no settings, just screw on and shoot. They work best between 5-20 meters. Shallower, and they overcorrect. Deeper, and they can't add back enough. Our filter guide covers which filter for which conditions. DIVEVOLK's blue filter takes a different approach worth understanding, and our complete dive filter guide compares all the options.
Option 2: White balance. Setting a custom white balance tells the camera "this is what neutral looks like at this depth." The camera then shifts all colors to compensate. This works well but needs to be reset as you change depth. See our white balance tutorial for technique.
Option 3: Post-processing. Shoot in RAW (if your app supports it) and fix color in editing. This gives you the most control and the best results, but it takes time and skill. Our post-processing guide walks through the workflow.
The best approach? Combine them. Use a filter as your baseline, set white balance on top of it, then fine-tune in post. That layered approach produces the most natural-looking results.
UWACOLOR: the software shortcut
DIVEVOLK's UWACOLOR feature in the UWACAM app applies real-time color correction based on your depth. It's not a filter and it's not just white balance — it uses a depth-dependent algorithm that adjusts as you descend or ascend. For divers who don't want to deal with manual color correction, it's the fastest path to accurate color. For the full picture on color correction strategies, our ultimate color correction guide brings everything together.
Macro and wide-angle: two different worlds
Underwater photography splits into two main disciplines, and they require different gear, different technique, and a different eye.
Macro
Macro is about the small stuff: nudibranchs, shrimp, coral polyps, tiny crabs hiding in anemones. The underwater world is packed with creatures smaller than your thumbnail that are wildly photogenic. Phone cameras have a natural advantage here because their small sensors give them more depth of field at close focus distances — you get more of the tiny subject in focus compared to a DSLR macro lens.

A clip-on macro lens for your housing magnifies the subject and lets you focus closer. DIVEVOLK offers two options, and the difference matters. The +8 versus +18 comparison explains when to use each. The Macro Lens PRO +18 is for serious close-up work where you want to fill the frame with a subject the size of a grain of rice.
Technique matters more than gear in macro. Move slowly. Approach from the side, not head-on (most marine creatures are less spooked by lateral movement). Use a light to bring out color and create separation from the background. And patience — sometimes you wait five minutes for a shrimp to emerge from its hole. That's normal.
One huge advantage of a touchscreen housing: you can tap to focus on the exact part of a tiny subject that needs to be sharp. With button-based housings, you're stuck with autofocus picking its own point. Our touchscreen macro guide digs into why this matters. For practical tips from a real shoot, see behind the shot: Pikachu nudibranch.
Wide-angle
Wide-angle is the opposite end: reef scenes, wrecks, whale sharks, manta rays, diver portraits against big backdrops. A wide-angle attachment lens increases your field of view, letting you capture more of the scene while staying close to your subject (remember: get close).
Wide-angle shots live and die on lighting. You need either strong natural light (shallow water, midday sun) or powerful video lights positioned wide apart to evenly illuminate a large area. Our wide-angle lens guide covers setup and technique.
A specialty wide-angle technique worth learning: over-under (split) shots, where the lens is half above and half below the waterline. These are stunning when done right. You need calm water, a dome port, and precise positioning. Our dome port and split shot guide breaks down the technique.

Post-processing: from raw shot to finished image
Every underwater photo needs at least some editing. This isn't about making fake images — it's about recovering what the water took away. Color, contrast, and clarity all suffer underwater, and post-processing brings them back to what your eyes actually saw.

The essential edits
Start with these, in this order:
- White balance / color temperature. Shift it until skin tones, sand, and white objects look neutral. This single adjustment fixes most color problems.
- Contrast. Water reduces contrast. Bring it back, but don't overdo it. You want natural-looking light, not HDR-baked highlights.
- Clarity / texture. A small boost (10-20%) brings out detail lost to water haze. Too much makes everything look crunchy.
- Selective color. Boost red and orange channel saturation to bring warm tones back. Pull back the blue if it's dominating.
- Crop. Reframe if your composition isn't tight enough. Cutting out dead space at the edges strengthens almost every underwater photo.
You can do all of this on a phone. Lightroom Mobile, Snapseed, and the UWACAM app's built-in editor all handle these adjustments. For a full editing workflow, see our post-processing guide.
RAW versus JPEG
If your camera app supports RAW capture, use it for shots you care about. RAW files contain all the sensor data before the phone's processor applies its own color and exposure adjustments. That gives you much more latitude to correct white balance and recover highlights in editing. The files are bigger and need processing, but the quality difference in underwater photos is significant. JPEG is fine for casual shots and video stills.
Where to shoot
Gear and technique are half the equation. The other half is putting yourself in front of interesting subjects in clear water with good light. Some destinations consistently deliver better underwater photography conditions than others.
Southeast Asia — the Philippines, Indonesia, Thailand — offers world-class macro at reasonable prices. The Red Sea has walls and wrecks with exceptional visibility. The Caribbean is accessible from the US and great for wide-angle reef scenes. Temperate waters (California kelp forests, British Columbia's nutrient-rich inlets) are underrated and produce unique images you won't get in the tropics.
Our guide to the 15 best dive destinations for underwater photography covers specific dive sites, seasons, and what to shoot at each one. But you don't need to travel far to practice. Your local pool, a snorkeling trip, or a calm shore dive can teach you more about your gear and settings than any resort vacation. The best camera system is one you've shot with enough to operate without thinking, and that takes repetition in easy conditions before you bring it to a current-swept reef at 25 meters.
For ocean science and exploration context that can inform where you travel, NOAA's Ocean Explorer is a solid resource. And the Cousteau Foundation regularly highlights marine environments worth visiting and protecting.
Entering contests and building a portfolio
Competitions are one of the best ways to push your skills forward. The feedback loop of selecting your best work, submitting it, and seeing what judges pick is worth more than any tutorial. You don't need to win — you need the discipline of editing down to your strongest images and critically evaluating them.
Major contests that accept phone photos
The underwater photography contest world has opened up to phone shooters in a big way. Several major competitions now have dedicated smartphone categories:
- Underwater Photographer of the Year (UPY) — one of the most prestigious contests in the genre. Our UPY 2026 entry guide walks through the submission process and what judges look for.
- UWPA Mobile Underwater Photography Contest — built specifically for mobile photographers. See our UWPA contest overview for details.
- Ocean Art, DPG/Wetpixel, and PICOTY (Picture of the Year) — all accept mobile entries in various categories.
Want proof that phones can compete at the highest level? Yeroy Delgado, a CMAS World Champion, shoots with DIVEVOLK gear and produces award-winning work.
Building your portfolio
You don't need a website (though one helps). Start with Instagram or a dedicated photography profile. Post consistently. Tell the story behind each shot — where it was taken, what gear you used, what was difficult about it. Be honest about shooting on a phone. That's a strength, not something to hide.
If you're setting goals for your underwater photography progression, our 2026 goals article maps out a realistic path from beginner to advanced.
A note on safety
Photography makes you task-focused. That's dangerous underwater. Monitor your air, depth, and no-decompression limits before framing any shot. A good photo is never worth a safety incident. Divers Alert Network (DAN) has extensive resources on dive safety, and our scuba diving safety guide covers everything from pre-dive checks to emergency procedures.
Don't touch marine life for a photo. Don't chase animals. Don't stand on coral. The reef doesn't care about your Instagram, and damaging it for content is indefensible. Our ocean conservation guide covers how divers can actively protect the environments they photograph.
Quick-start checklist
Clip this and take it on your next dive trip.
Before the trip
- Test housing seal in a pool or sink (no phone inside first)
- Install UWACAM or your preferred camera app
- Practice manual settings on land (ISO, white balance, focus lock)
- Charge video light fully
- Clean the housing's sealing gasket and lubricate per manufacturer instructions
- Clear phone storage — RAW files eat space fast
Before each dive
- Inspect the sealing gasket for hair, sand, or debris
- Seat phone properly and close housing with a firm click
- Set camera app to your starting settings (ISO, WB, mode)
- Attach light and lens before entry
- Do a bubble check at 1-2 meters before descending
During the dive
- Get close to your subject — then closer
- Shoot upward when possible
- Reset white balance when changing depth by 3+ meters
- Check air and depth BEFORE setting up a shot
- Take multiple shots of each subject — vary angle and distance
After the dive
- Soak housing in fresh water for 15-30 minutes (buttons clicked, not opened)
- Dry housing completely before opening
- Back up photos immediately
- Edit your top 5-10 shots while the dive is fresh in your memory
That's the full picture. Underwater smartphone photography has gone from novelty to a legitimate way to make beautiful images of the ocean. The gear is better than ever, the community is growing, and the learning resources — including everything linked from this page — are all free.
Pick one section that's your weakest area. Read the linked article. Go practice on your next dive. That's how you get better: one skill at a time, one dive at a time.
