
A finished underwater documentary almost never starts in the water. It starts on paper. The clips that feel effortless on screen are the product of a workflow that began weeks earlier with a question, a script, and a plan for how every dive, every memory card, and every edit decision would feed the final cut. This guide walks through that workflow end to end, from script to final cut, so your next project comes back as a story instead of a folder of disconnected clips.
This is the production-management companion to our piece on underwater cinematography and documentary shot language. That article covers what to film and how each shot reads on screen. This one covers how to plan, run, and finish the whole project around those shots.
Phase 1: Pre-Production — Decide the Story Before You Get Wet
Pre-production is where most underwater films are won or lost. The ocean is expensive in time, air, and access, so the more you decide on land, the less you waste at depth.
Find a premise, then research it
Start with a single sentence that states what the film is about and why it matters: "A resident turtle population returns to a recovering reef," or "One diver documents a single seamount across a season." A clear premise keeps every later decision honest. Vague premises produce vague footage.
Research the subject before you write the script. Read survey data, talk to local divemasters and marine scientists, and learn the species behavior and seasonality you hope to capture. Organizations like NOAA Ocean Exploration publish open mission logs and footage that help you understand how habitats are documented and what is realistic to expect on site.
Write a script and storyboard
Even an observational documentary benefits from a working script: an outline of the beginning, middle, and end, plus the narrative spine ("Challenge → Action → Result" works well underwater). Then storyboard the key sequences. You will not film exactly what you draw, but a storyboard forces you to think in sequences rather than single hero clips, and it tells you which shots are essential versus nice-to-have.
Permits, access, and ethics
Confirm the legal and ethical groundwork early. Many marine parks, sanctuaries, and protected sites require filming permits, and commercial work often has separate rules from recreational diving. Build your project around the welfare of the subject from day one: do not plan shots that depend on touching, chasing, feeding, baiting, or crowding marine life. NOAA Fisheries' marine life viewing guidelines are a good baseline: observe from a respectful distance and let animals choose their own behavior. A film that harasses its subject is both unethical and, usually, worse footage.
Phase 2: Shoot Planning — Turn the Script Into a Dive Plan
The bridge between a script and the water is a set of planning documents. Three matter most: the shot list, the dive plan, and the gear list.
Build a shot list
Translate each storyboard sequence into specific shots: shot type (wide, medium, detail, reveal), subject, target depth, expected light, and priority. Mark which shots are story-critical so that if a dive is cut short, you protect those first. Keep the list on a waterproof slate or wrist-mounted note so you can work it underwater instead of trying to remember it.
Dive plan and team roles
A filming dive is still a dive. Plan depth, time, gas, surface intervals, and contingencies before any creative goals. On a documentary shoot, also assign roles: a primary camera operator, a safety diver or buddy whose only job is watching the operator (who will be task-loaded), and ideally a spotter who finds subjects so the operator can stay set up. Brief everyone on the shot list and on the no-contact rule so the whole team protects both the diver and the habitat.
Gear and lighting checklist
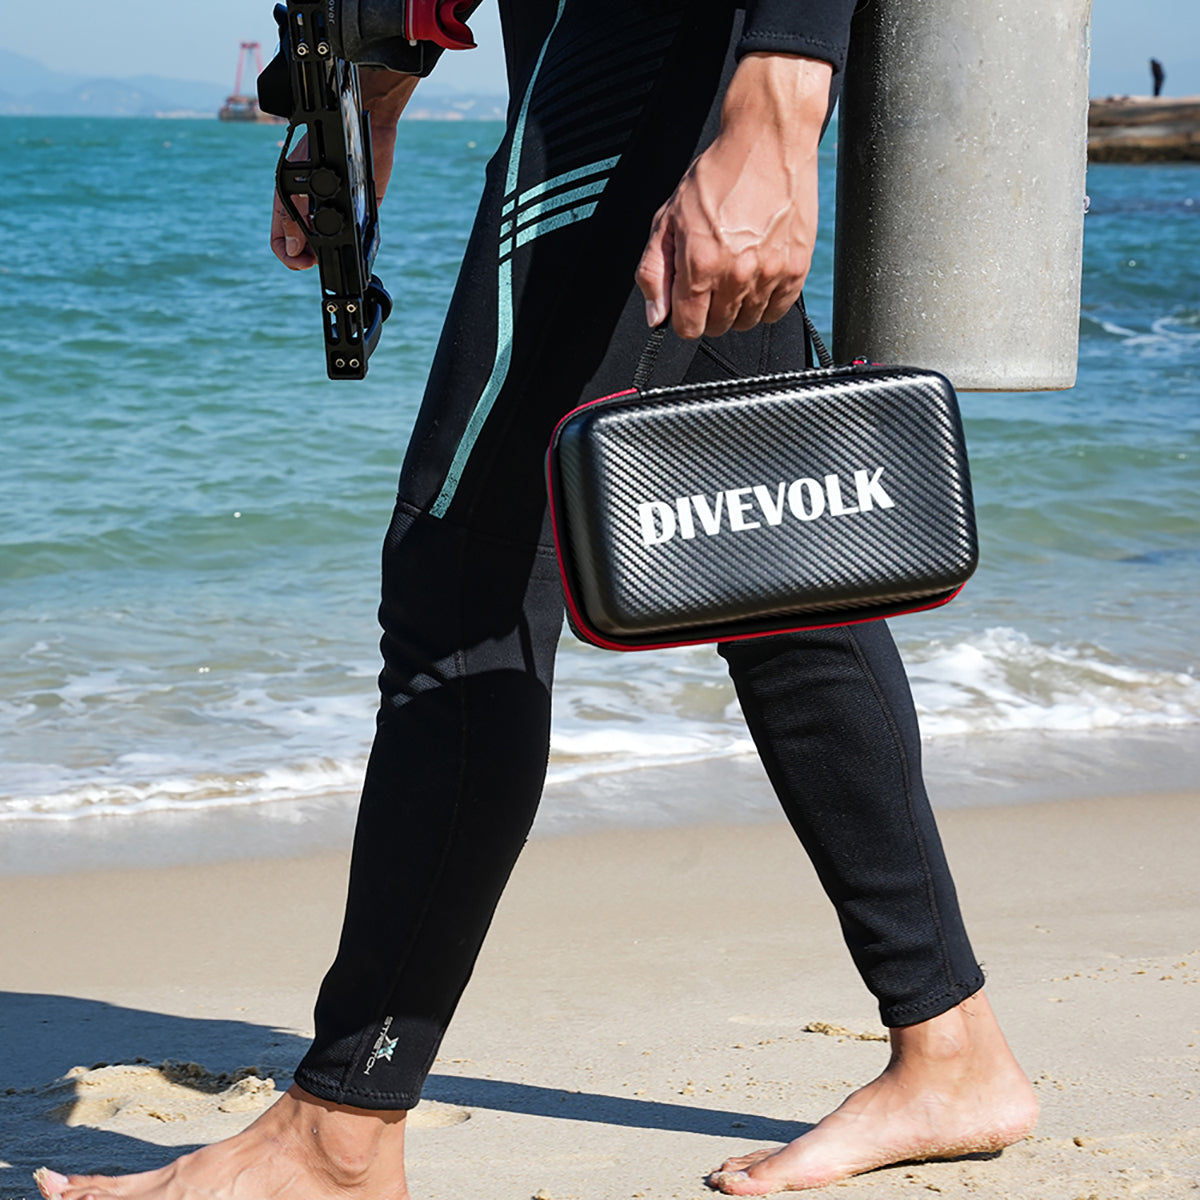
Your gear list should follow the shot list, not the other way around. For most divers the practical core is a camera in a reliable housing plus a stable lighting setup. A full-touchscreen phone housing such as the SeaTouch 4 Max Platinum keeps a familiar camera app available at depth, and the broader underwater phone housing and SeaTouch 4 Max kit ranges cover grips, trays, and mounts that make handheld documentary work steadier. For close subjects and color in deeper or shaded scenes, plan your continuous lighting intensity and angles in advance, and pack the right optics from the lens collection for wide habitat shots or tight macro. Build a written packing checklist with batteries, spare cards, O-rings, and silicone — the things that end shoots when forgotten.
If you are shooting with a phone, lock in your camera settings before the trip. Our underwater smartphone photography guide and the UWACAM app guide walk through the manual controls — exposure, white balance, and frame rate — that keep a documentary looking consistent from clip to clip.

Phase 3: Production — Shoot, Log, and Protect Your Footage
On site, discipline beats inspiration. The goal is to come back with usable, organized, well-documented footage every single dive.
Execute the plan, then improvise
Capture your story-critical shots first while air, light, and attention are fresh. Once those are safe, you can chase the unexpected. Work your shot list deliberately: get the establishing shot, the behavior, and the detail for each sequence rather than fifty variations of one subject. Manual settings dialed in topside mean you spend bottom time framing, not fiddling.
Keep a dive log and capture metadata
Treat your dive log as production metadata. After each dive, note the site, depth, time, conditions, which shot-list items you got, the best clip timecodes, and anything that needs a re-shoot. This log becomes a roadmap in the edit, saving hours of scrubbing through cards. Veteran shooters build this habit deliberately — see how one award-winning ambassador structures his sessions in our profile of George Kao's Taiwan stream workflow.
Naming, backup, and the 3-2-1 rule
A consistent file workflow is what separates a project from a mess. Offload cards the same day. Adopt a naming convention before the trip — for example PROJECT_DATE_SITE_DIVE_CLIP — so files sort logically and match your dive log. Then back up redundantly: the widely cited 3-2-1 approach means three copies of every file, on two different media, with at least one copy off the boat. Never reformat a card until two verified copies exist. Footage you cannot recover is footage you did not shoot.

Phase 4: Post-Production — From Raw Clips to a Finished Story
Editing is where the script you wrote on land finally meets the footage you captured at depth.
Ingest, organize, and rough cut
Import everything, sync it to your logs, and tag selects so the strongest clips surface quickly. Build a rough assembly that follows your scripted spine first; get the story working in the right order before you polish anything. Cut for narrative, not for your favorite shots — a beautiful clip that does not serve the story belongs in the outtakes.
Color correction and grading
Underwater footage almost always needs color work because water absorbs warm light with depth, leaving images flat and blue. Correct first — restore white balance and contrast so the scene looks natural — then grade for a consistent look across the film. If you shot a flat or log profile on a dedicated camera, you have more latitude here; our Blackmagic underwater video guide covers the manual capture choices that make grading easier later. Aim for believable, not radioactive: the ocean has real color, and the goal is to reveal it, not invent it.
Audio, music, voiceover, and titles
Sound carries a documentary as much as picture. Layer a music bed that matches the pacing, add ambient or sound-design elements where they help, and record clean voiceover if your script calls for narration. Keep music licensing legitimate. Finally, add titles, lower thirds for any interview subjects, and captions or subtitles — captions widen your audience and improve accessibility, and many platforms favor captioned video.
Phase 5: Distribution — Deliver the Right Version to the Right Place
A film is only finished when it reaches an audience in the right shape. Plan your deliverables around where the work will live.
- Length versions: Cut a full-length edit for festivals or your own channel, plus shorter versions for social platforms. A tight two-to-three-minute cut and a sub-minute vertical teaser will travel far further than one long edit alone.
- Aspect ratios: Master in 16:9, then reframe key sequences vertically (9:16) for short-form feeds rather than letterboxing them.
- Platform specs: Export to each platform's recommended resolution, codec, and loudness target so your work is not re-compressed badly on upload.
- Metadata and credits: Write a clear title, description, and tags, and credit your team, your subjects' habitat (without disclosing sensitive locations of vulnerable species), and any contributing scientists or operators.
Conservation-focused films can also find a home with audiences who care about the ocean. Groups such as Mission Blue show how ocean storytelling supports protection efforts — a reminder that a documentary can do more than entertain.
Bringing the Workflow Together
The five phases form one continuous pipeline: a clear premise drives the script, the script drives the shot list, the shot list drives the dive plan and gear, disciplined logging and backup protect the footage, and the edit reassembles it into the story you set out to tell. Skip a phase and the weakness shows up later — usually in the edit, when you discover the shot you needed was never planned.
You do not need a film crew or a cinema budget to work this way. A diver with a phone in a solid housing, a written shot list, a backup routine, and patience can produce a real documentary. If you are planning a project and want help matching gear to your shot list, contact us — and when you are ready to refine how each shot reads on screen, revisit the companion guide on documentary shot language.
