My name is Sean Elliott. I have been an underwater photographer and videographer for over 25 years. One of my passions is seeing what I can get out of Action Cameras and Smartphones, and there is nothing I like more than teaching others how to do the same.
If you would like to see "How To" videos on using a Smartphone in a DIVEVOLK Housing, please Subscribe to my YouTube Channel: Sean Elliott's YouTube Channel
![]()
As my primary Smartphone of choice was the Pixel 9 Pro and has just become the Pixel 10 Pro XL, DIVEVOLK has asked me to write an article on some tips and tricks for using the Pixel underwater.
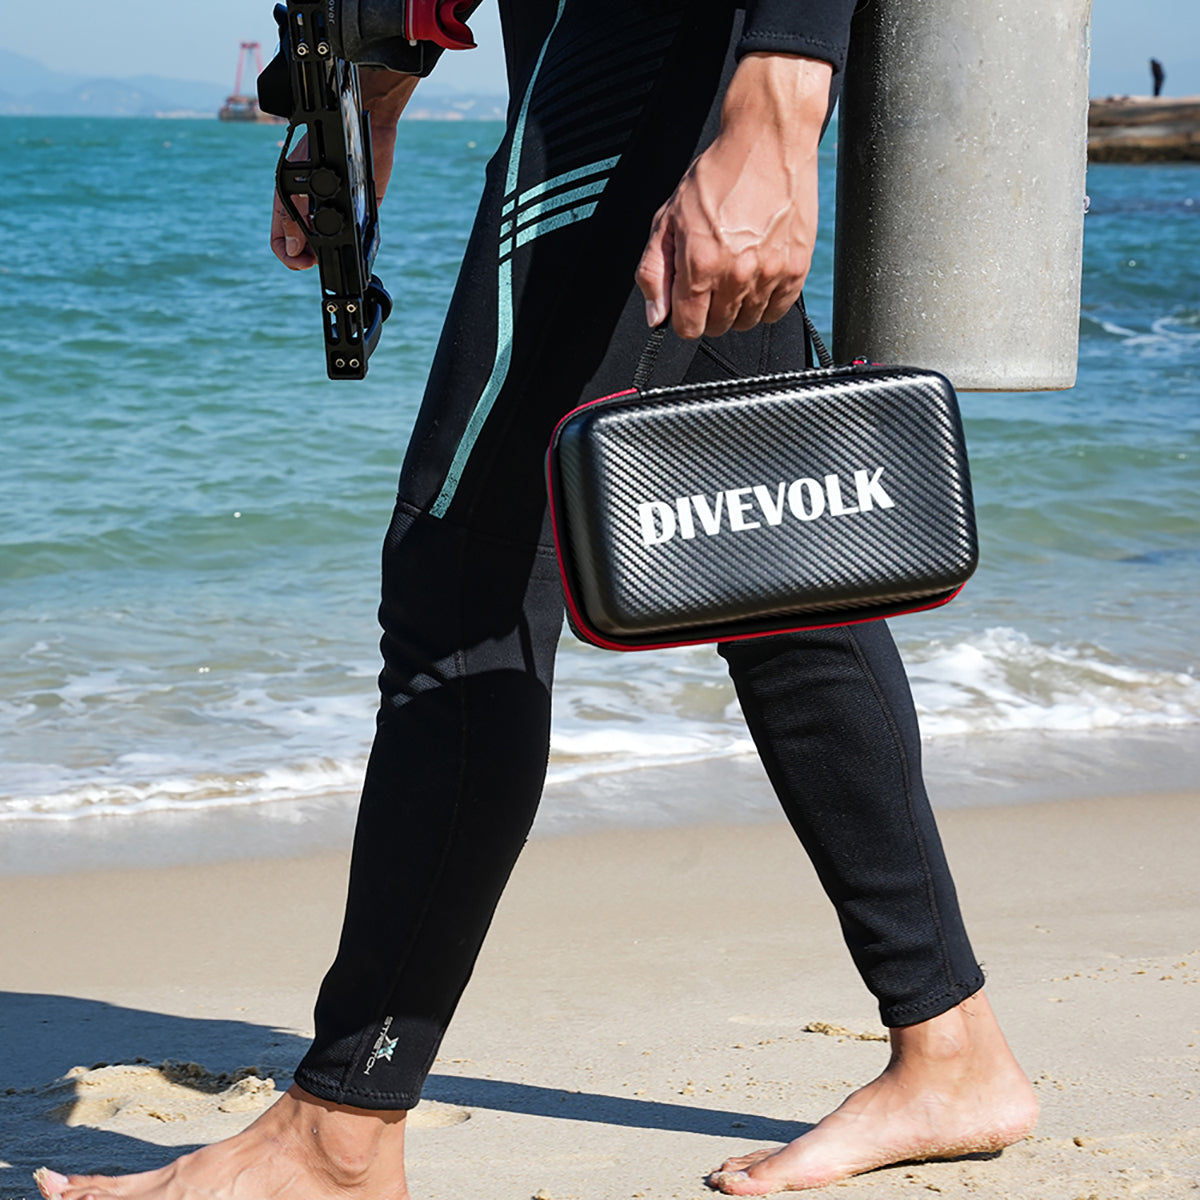
Tip 1: Get yourself one of the enclosed, waterproof, dust-proof cases. They are cheap and give you a screen cover so you don’t need to worry about not having a screen protector. The other advantage is it will keep your phone dry and clean.
Pre-Dive Setup: Getting Your Pixel Ready
Now let's start with the steps I recommend you do before you place your phone in your DIVEVOLK housing.
- Turn off Adaptive Brightness. Set your desired brightness so it stays consistent throughout the dive.
- Change the Screen Timeout. Set it to 30 minutes, or (my recommendation) install the Wakey App so that your phone won’t go to sleep underwater.
- Switch on the Accessibility Menu. This will put a little widget on your screen that makes navigating between apps easier.
- Turn Airplane Mode ON. This saves a significant amount of battery.
- Manage Your Apps. Close all the apps you don’t want to use underwater and open all the ones you do. This makes it quick and easy to use the accessibility menu and select between your open apps.
![]()
Tip 2: Always make sure your phone camera lenses and the DIVEVOLK housing lenses are clean. There is nothing worse than getting in the water only to see a dirty fingerprint on your camera lens.
My Recommended Apps for Pixel Videography
Here are some apps that I recommend you check out. The reason I mention these is that I would not recommend you use the stock Pixel camera app for video for anything but the most basic shots. The Pixel Camera app in video mode, for example, doesn’t give you access to the new reduced focus distance as there is no manual focus.
- Blackmagic Camera: Since its update to version 3, it is back as my go-to videography app. Firstly, it's free. Secondly, it has one of the best UIs of any app. Its focus and focus peaking are probably the best there is. It is also very stable for an Android App and easy to setup. This is my go-to app for macro video.
- MC24FPSPRO: This is a paid app and only available on Android. It has more features and options than Blackmagic. It’s for more of an intermediate user but has some really great White Balance (WB) control. With a large range of options, it can take your videography up a level. Of course, more power and more control mean less stability and a bigger learning curve, but it can still be used as a point-and-shoot. For macro, though, its focus peaking isn’t as good as Blackmagic.
- Motion Cam Pro: This is really the reason that Android is better than iOS. This app does have a demo that allows you to take photos and shoot video up to 5 seconds long but is otherwise a paid app. This is a Pro app and requires a high level of understanding, but when you can shoot RAW(12) on a phone without any external add-on, it is pretty insane.
- Open Camera: A free app that works well for manual control when shooting macro. Its UI is a bit clunky, but it has most of the features that a paid app will have.
- Wakey App: This is a must-have on Android so your phone won’t go to sleep.
Tip 3: The Pixel 10 Pro series has reduced its focus distance on the Telephoto lens from 75cm to 30cm, but only with manual focus. The Pixel Camera App only gives you manual focus for photos, so use a third-party app like Blackmagic and you can access this great feature via manual focus for video.
What About the Stock Pixel App for Photography?
For photography, the stock Pixel camera app is hard to beat underwater. It still isn’t the greatest UI, but it does have full manual control and is obviously fine-tuned to work with the Google Pixel. If you are shooting JPEG, then I would say it wins hands down. If shooting RAW, then it’s not as critical.
Most settings in the Pixel Camera App are personal preference. I would suggest you shoot 50MP and RAW for the best results, but 12MP and JPEG can produce great results and are much easier when you start.
Tip 4: If you are in clear blue water, try switching on Underwater Mode in the settings section of the Pixel Camera app. It will improve your white balance.
The Ultimate Guide to Pixel Macro Photography
Let's go through my tips and setup for getting great macro shots with the Google Pixel.
Recommended Hardware for Macro
- A DIVEVOLK SeaTouch housing
- The expansion clamp to attach a macro lens and a tripod
- A tripod
- The +8 or (my recommendation) the +18 DIVEVOLK Macro lens
- A DIVEVOLK SL20 light
- Ball attachment to attach the SL20 to the expansion clamp
- Ball clamp to attach the light to the ball
- The DIVEVOLK Bluetooth shutter is also highly recommended
![]()
The "Secret" to Great Pixel Macro Photos
The first secret to a great macro shot with a wet lens is understanding how your phone works—or rather, how it uses some fancy tricks to make you believe you have zoom lenses and macro lenses that you don’t. If you let the phone use its tricks, you may see a photo on your phone you are happy with, but when you look at it on a computer, it will look terrible.
You only have 3 fixed lenses; any zoom other than 0.5x, 1x, or 5x is a digital zoom (2x and 10x are cropped sensors).
- You have a 0.5x ultra-wide lens. This is the only true macro lens and focuses down to about 2cm.
- You have a main 1x lens which will focus down to about 11cm.
- You have a telephoto 5x lens that focuses to 75cm (On the 10 Pro series, it will now focus manually to 30cm, but auto is still 75cm).
Here is the problem: With your standard camera app and standard settings, if you select the telephoto (5x) lens and you are closer than 75cm, it will actually change to the 1x lens and use a digital zoom (but it won’t tell you). If you then get closer than 11cm, it will swap to the ultrawide (0.5x) and be using a 10x digital zoom to make you think you are using that 5x lens. That is going to be one very bad image! On top of that, if you are trying to use a wet lens, you will be struggling as the phone keeps changing which lens it is using.
The same thing will happen on your main lens. If you get closer than 11cm to a subject, the phone will stop using your main lens and will jump to your 0.5x lens and use a digital zoom.
Now that we know that, we need to lock our phone to only use the lens we select.
You might ask, "How are we using these lenses if they focus 11cm and 75cm away?" That’s why we use a wet Macro Lens. It is a diopter and works similarly to a pair of reading glasses. It reduces the minimum focus distance of your lens. Just like your reading glasses might be a diopter of +1.5, we are now adding a +8 or +18!
My Critical Pixel Macro Settings
There are two settings that are critical for macro: the Macro Focus option (under General Settings) and the Lens Selection option (under Pro settings). These settings will stop that horrible lens shifting and digital zoom.
- First, you MUST switch the Macro Focus to OFF. This will mean that no lens will automatically jump back to the Ultra-wide lens. Your 1x and 2x lenses will focus down to about 11cm and will always be using the main lens and sensor.
- When you are new to macro, I would start by using the +8 or +18 Macro lens on your 1x and 2x lens only. (The +8 actually needs to be on a 2x lens to avoid seeing the lens).
- You will get good shots with the 2x lens because this is a cropped sensor, not a digital zoom. Because it's using half the sensor, you will need to get as much light on your subject as possible, but thankfully that’s easy when doing macro, even with a small light.
- With the 1x and 2x options, you can get away with using touch-to-focus, but I recommend going into your photo settings and selecting manual focus and using focus peaking so you can see exactly what is in focus.
- Pro Step (for the 5x Telephoto): If you wish to progress to using the 5x telephoto, you must go to the Pro setting and turn the Lens Selection to MANUAL. It will still be dropping back to the main lens if it's closer than 75cm otherwise.
You will know it has worked, as now instead of having 1x, 2x, 5x, and 10x, you will only see UW, W, and T. These are your actual optical lenses. Now when you select the telephoto (T) lens, it will not focus under 75cm (or 30cm in manual) or swap to the other lenses.
Manual focus is pretty much a necessity when using the telephoto lens. It is also the only way you can access the new closer 30cm focus of the Pixel 10 Pro series. This will also allow you to get closer with a wet lens.
As you have no aperture control on a phone, the depth of field—especially with a +18 Macro lens on a 5x telephoto—is paper-thin. It takes practice and patience, and that's why I love it so much.
Since you can't change the aperture and you need to be well-lit, I would not worry about manually setting your exposure. Let the phone handle exposure and white balance, and you focus on getting that focus right.
![]()
Tip 5: Use manual focus and focus peaking with macro. Let your subject slowly come into focus instead of trying to chase it with autofocus.
Tips for Macro Videography
Macro videography with a phone is possibly the most difficult you can do. Photography is hard, but you only need 1 frame in focus, and lighting is easier than wide angle.
With macro video, we now need at least 2 to 4 seconds of quality footage. The best trick you can do is to shoot in 4k60 and then half-speed your footage in post. That will help smooth out your footage, and you now only need 1 to 2 seconds of footage that is in focus and smooth.
When you are beginning and want to shoot at 1x or 2x on a +8 macro, the Pixel camera app will be fine as you can use touch-to-focus, and the stabilization in the Pixel Camera App on the main lens is superior to third-party apps. Just switch off the macro as before to stop it from switching you back to the 0.5x lens.
A third-party app is essential for using the 5x telephoto lens. All the manual controls in the Pixel App available for photography do not exist for video. Not even manual focus. I would recommend using the Blackmagic App.
Tip 6: For macro video, always use focus peaking and manual focus.
Why the Google Pixel is My Go-To Underwater Camera
Although I have used iPhone, Samsung, and Google underwater, the reason why I currently choose the Google Pixel over the other two main brands is that the Pixel 10 Pro XL is, in my opinion, the best underwater camera. I’m not here to convince you to change phones, and note I said the best underwater camera. I didn’t say the best phone or best anything else!
Here are some reasons I decided to stay with the Pixel this year:
- The Pixel Camera App (for photos)
- The way it white balances underwater
- The lens quality
- The image stabilization
- The fact that I have full access to all my lenses and options in third-party apps
- I can shoot 60 frames a second in RAW straight to my phone
- Ultimately for me, the access and quality of the telephoto lens is critical to quality macro shots.
Quick Pointers for Wide-Angle Shots
Here are some quick pointers for wide angle.
- I recommend you always use a dual-handle tray with two SL50 or SL120 lights. No camera, no matter how expensive, can beat physics. The greatest image improvement you can make is adding lights. Even one light will make a massive difference.
- If you plan on using the DIVEVOLK Wide Angle Conversion lens, make sure you use focus peaking and manual focus. If you don’t, the auto will hunt for focus too much.
- If using the Ultra-Wide (0.5x) lens, you will have distortion on the edges. Consider how you are shooting your subject so that it isn’t highlighted to your viewer.
- I would suggest you use your 1x main lens as much as possible due to its superior quality and image stabilization.
![]()
Tip 7: If using a third-party app, be sure you have switched on image stabilization!
I would highly recommend you learn how to set your exposure manually and white balance manually.
A Note on the Bluetooth Shutter
Add a DIVEVOLK Bluetooth Shutter. This is especially worth it for macro photography, as it is so much easier and smoother to just press the shutter than try and locate the button on the screen of your phone.
Tip 8: Don’t forget, if you have switched Airplane mode on, you will need to turn on Bluetooth for your shutter to connect.
Tip 9: Don’t forget to change your settings in each app for your volume buttons to be shutter buttons. The Bluetooth Shutter works because it's actually controlling your volume, so you need your volume button to fire y`our shutter.
Final Thoughts
I hope these tips help you get more out of your Google Pixel and DIVEVOLK Housing. If you would like in-depth videos on the above topics and see some of the shots I have been able to get with my Google Pixel, then please Subscribe to my following socials.
YouTube: https://www.youtube.com/@seanuwvideo
Instagram: instagram.com/seanelliott_underwatervideo
