
La photographie sous-marine est un art captivant qui allie les défis de la plongée à la créativité photographique. Il s'agit de capturer le monde vibrant et mystérieux qui se cache sous les vagues. Que vous soyez un plongeur débutant équipé d'un smartphone ou un professionnel chevronné avec un reflex numérique, ce guide complet vous expliquera tout ce que vous devez savoir – du matériel essentiel aux techniques de base, en passant par les stratégies créatives avancées – pour transformer vos images sous-marines, de simples clichés en chefs-d'œuvre époustouflants.
Partie I : Les bases – Choisir le bon équipement
Le bon équipement est indispensable. Votre choix dépendra de votre budget, de vos objectifs et de votre niveau d'expérience. Voici un aperçu du parcours type d'un photographe sous-marin.
1. Caméras et boîtiers
- Idéal pour les débutants : smartphone ou caméra d’action. C’est le point de départ le plus accessible. Un smartphone moderne associé à un boîtier étanche dédié comme le DIVEVOLK SeaTouch 4 MaxUne caméra d'action, comme une GoPro ou une Insta360 dans son boîtier étanche, est idéale pour capturer des scènes grand angle et immortaliser vos aventures sous-marines. Légères et faciles à utiliser, elles offrent des résultats impressionnants pour des prises de vue occasionnelles.
- Niveau intermédiaire : Configuration avancée du smartphone. Ne sous-estimez pas la puissance de votre téléphone. En choisissant un boîtier polyvalent qui vous permette d'accéder pleinement aux fonctions natives de l'appareil photo de votre téléphone, comme la commande tactile de l'appareil photo, vous optimisez son utilisation. SeaTouch 4 MaxVous pouvez considérablement perfectionner votre art. En ajoutant des objectifs et des éclairages externes, vous pourrez aborder des sujets complexes comme les prises de vue en deux parties (ou split-half), la macrophotographie détaillée et même les créatures aquatiques les plus insaisissables. Vous pouvez également exploiter les puissantes fonctionnalités de votre téléphone, telles que le ralenti, l'accéléré et le mode panoramique, pour libérer votre créativité.


- Qualité professionnelle : Appareils hybrides/Reflex numériques. Pour une qualité d'image et un contrôle optimaux, les photographes professionnels privilégient les appareils photo hybrides ou reflex (comme le Sony A7S III ou la série Canon EOS) installés dans des caissons étanches sur mesure. Associé à des objectifs sous-marins spécialisés, tels que des objectifs fisheye ou macro, ce système offre des performances inégalées, mais représente un investissement nettement plus important et nécessite un apprentissage plus poussé. Il est donc idéal pour les travaux commerciaux et les passionnés avertis.
2. Accessoires essentiels pour de meilleures images
Une fois votre appareil photo en main, ce sont les accessoires qui transforment véritablement vos photos en compensant les défis uniques du milieu sous-marin.
- Filtres rouges &et ; Lumières (Stroboscopes/Lumières vidéo) : L'eau est un filtre naturel qui absorbe la lumière, la lumière rouge (longueur d'onde de 620 à 750 nm) étant la première à disparaître. À seulement 10 mètres de profondeur, la plupart des rouges apparaissent comme brun terne ou gris. Pour y remédier, deux options principales s'offrent à vous. Avec un budget limité, une filtre rouge peut aider à restaurer une partie des couleurs perdues dans des conditions ensoleillées et peu profondes. Cependant, pour des résultats optimaux à plus de 10 mètres de profondeur, il est nécessaire d'apporter son propre éclairage. Sous l'eau stroboscopes (éclairs) ou éclairage vidéo (Lumière continue) avec une température de couleur d'environ 5500K permettra de réintroduire les vraies couleurs et de faire ressortir vos sujets.
- Bras de flottaison &et; Flottants : Un équipement de caméra professionnel peut être lourd. Des bras et des flotteurs permettent de stabiliser l'ensemble, l'empêchant de couler et vous permettant ainsi d'obtenir des images plus nettes et des vidéos plus fluides.
- Lentilles et dioptries :
- Objectifs grand angle : Ces appareils sont indispensables pour immortaliser de vastes scènes comme les récifs coralliens, les épaves ou des créatures majestueuses comme les requins-baleines.Elles élargissent votre champ de vision et vous permettent de vous rapprocher de votre sujet, réduisant ainsi la quantité d'eau entre votre appareil photo et le sujet, ce qui améliore la netteté et les couleurs.
- Objectifs macro/Dioptries : Pour immortaliser les minuscules merveilles de l'océan — comme les nudibranches, les crevettes et les petits poissons —, un objectif macro ou une bonnette anti-puces à visser sur le port de votre caisson étanche est indispensable. Ces outils permettent de s'approcher au plus près et de capturer des détails saisissants. Ils sont idéalement associés à un éclairage vidéo focalisé (environ 2 000 lumens) ou à un flash pour illuminer correctement le sujet.


3. Autres équipements de protection
Pour les petits objets ou lorsque vous souhaitez voyager léger, une pochette de protection est idéale. La pochette Sea To Max offre une solution pratique pour transporter et protéger vos essentiels.

Partie II : Techniques de base – Les règles d’or de la prise de vue sous-marine
Un bon équipement ne représente que la moitié du travail. La maîtrise de ces techniques fondamentales fera toute la différence dans la qualité de votre travail.
1. Gestion de la lumière et des couleurs
- Travailler avec la lumière naturelle : En eau peu profonde (0-10 mètres), le soleil est votre meilleur allié. Planifiez vos plongées en milieu de journée, lorsque le soleil est au zénith, pour une pénétration lumineuse optimale et un rendu des couleurs exceptionnel.
- Maîtriser l'éclairage artificiel : En eaux profondes ou par temps nuageux, vos lumières sont cruciales. L'essentiel est positionnementPour éviter la rétrodiffusion (ces points blancs disgracieux causés par la réflexion de la lumière sur les particules en suspension dans l'eau), positionnez vos flashs ou éclairages vidéo sur les côtés et légèrement en avant de votre caisson étanche. Ainsi, le sujet est éclairé latéralement, et non du point de vue de l'appareil photo, ce qui permet d'obtenir des images détaillées sans éclairer l'eau.
- Réglage manuel de la balance des blancs : Ne vous fiez pas à la balance des blancs automatique de votre appareil photo, car elle peut être perturbée par la prédominance du bleu et produire des couleurs inexactes. Définissez une balance des blancs personnalisée en fonction de votre profondeur de prise de vue à l'aide d'une ardoise blanche, ou utilisez un préréglage autour de 5 000-5 500 K. Pour une flexibilité maximale, Photographiez au format RAW, ce qui vous permet de régler précisément la balance des blancs en post-production.
- Utilisez une application de correction des couleurs : Pour des résultats rapides et efficaces, notamment avec un smartphone, des applications comme UWACAM permet de restaurer les couleurs naturelles d'un simple clic, ce qui simplifie grandement la post-édition.
2. Contrôle de la flottabilité et de la stabilité
- Maîtriser la flottabilité neutre : C'est la compétence la plus importante pour tout photographe sous-marin : utiliser son gilet stabilisateur et, surtout, sa respiration pour maintenir une position parfaitement stable et suspendue dans l'eau. Cela évite de soulever accidentellement du sable ou, pire encore, d'endommager les coraux fragiles.
- Créer une plateforme stable : Tenez votre matériel photo à deux mains, les bras près du corps pour minimiser les mouvements. Si possible et sans danger, vous pouvez vous stabiliser en vous appuyant d'un doigt sur un rocher mort, mais ne touchez jamais de corail vivant.
- Déplacez-vous lentement et délibérément : L'eau crée une résistance importante. Tous vos mouvements (panoramique, inclinaison ou déplacement vers l'avant) doivent être lents et fluides pour éviter des images saccadées et des photos floues. La plupart des caméras d'action sont dotées d'une excellente stabilisation intégrée, ce qui peut s'avérer très utile dans ce cas.
3. Composition et angles créatifs
- Composition grand angle :
- Tirer vers le haut : L'une des techniques les plus classiques et efficaces. Photographier en contre-plongée vers la surface utilise l'eau et la lumière du soleil comme un magnifique fond bleu ou en forme d'éclat de soleil, créant ainsi une silhouette parfaite pour des sujets comme des plongeurs, des tortues ou des requins.
- Utilisez l'encadrement : Créez de la profondeur en utilisant des éléments du décor comme cadre naturel. Photographiez à travers une fenêtre sur une épave ou une ouverture dans une formation corallienne pour attirer le regard du spectateur vers votre sujet.
- Composition macroscopique :
- Approchez-vous, puis rapprochez-vous encore : En raison des conditions d'éclairage et de mise au point sous l'eau, il est nécessaire d'être physiquement proche du sujet. Effectuez une mise au point manuelle sur le détail le plus important, comme les yeux d'un poisson ou les rhinophores d'un nudibranche.
- Créer un fond noir : Une technique puissante pour isoler un sujet macro. Positionnez votre source de lumière directement sur le sujet, utilisez une vitesse d'obturation rapide et une ouverture fermée (e.gOuvrez le boîtier avec un diaphragme de 16 mm (f/16) et réduisez votre sensibilité ISO. Cela permet d’exposer correctement le sujet tout en laissant l’arrière-plan complètement noir et dramatique.
- Capture du mouvement :
- Pour figer le mouvement d'un banc de poissons en mouvement rapide, utilisez une vitesse d'obturation élevée (1/1000 s ou plus rapide). Pour créer un effet de flou de mouvement, utilisez une vitesse d'obturation plus lente (comme 1/30 s) et déplacez votre appareil photo en suivant le sujet.
Partie III : Guide des scénarios – Stratégies pour différents environnements
1. Récifs coralliens et vie marine
Approcher la faune marine sans la déranger est une compétence qui requiert patience et pratique.
- Déplacez-vous lentement : Les mouvements brusques effraient presque toutes les créatures. Approchez-vous calmement et laissez l'animal s'habituer à votre présence. Si vous voyez un poisson vous tourner le flanc, c'est un signe de stress : arrêtez-vous et attendez qu'il se détende.
- Perfectionnez votre flottabilité : Un excellent contrôle de la flottabilité permet de rester immobile en vol stationnaire, d'observer et de photographier sans impacter l'environnement. C'est essentiel pour s'approcher de sujets craintifs.
- Observer d'abord, tirer ensuite : Avant même de lever votre appareil photo, observez le comportement de l'animal. Cela vous permettra d'anticiper ses mouvements et de capturer des actions plus intéressantes et naturelles, comme se nourrir, se toiletter, s'accoupler ou défendre son territoire. Une photo qui saisit un comportement, et non un simple portrait, raconte une histoire bien plus riche.
- Utiliser le premier plan et l'arrière-plan : Créez une impression de lieu en composant votre image par superposition d'éléments. Utilisez un morceau de corail au premier plan, placez un banc de poissons au second plan et laissez l'eau d'un bleu profond servir de toile de fond pour une scène dynamique et tridimensionnelle.

2. Portraits sous-marins (Plongeurs/Modèles)
- Guidez la pose de votre modèle : Une pose élégante et élancée est toujours plus flatteuse qu'une pose maladroite. Demandez à votre modèle de garder les mains jointes devant lui ou de tenir un éclairage indirect pour créer une silhouette plus gracieuse.
- Utilisez les bulles de manière créative : Les bulles expirées par un plongeur peuvent donner une impression de mouvement et de vie saisissante à une photo. Capturez-les lorsqu'elles remontent à la surface pour créer des lignes de fuite et une atmosphère dynamique.
- Maîtrisez votre éclairage : Évitez d'éclairer un modèle de face, car cela peut créer des images plates et sans intérêt. Utilisez un éclairage latéral ou un contre-jour pour sculpter sa silhouette et créer un contour marqué. Un petit projecteur peut être utilisé pour atténuer les ombres sur son visage.
3. Épaves et structures sous-marines
- Élargissez votre champ de vision et baissez-vous : Utilisez un objectif grand angle ou fisheye et photographiez depuis le fond de l'épave, en regardant vers le haut. Cet angle met en valeur l'envergure et la grandeur de la structure. La présence d'un plongeur dans le cadre apporte une dimension essentielle et renforce considérablement l'impact de l'image.
- Capturez le mouvement avec une vitesse d'obturation lente : Pour un effet créatif, fixez votre appareil photo sur un trépied.Utilisez une vitesse d'obturation lente (1 à 2 secondes) pour capturer le mouvement doux et flou de l'eau qui coule à travers l'épave ou des poissons qui nagent à proximité, en le contrastant avec la structure nette et statique.
Partie IV : Sécurité et meilleures pratiques
Aucune photo ne justifie de risquer sa vie ou de nuire à l'environnement. La sécurité et la préservation doivent toujours primer.
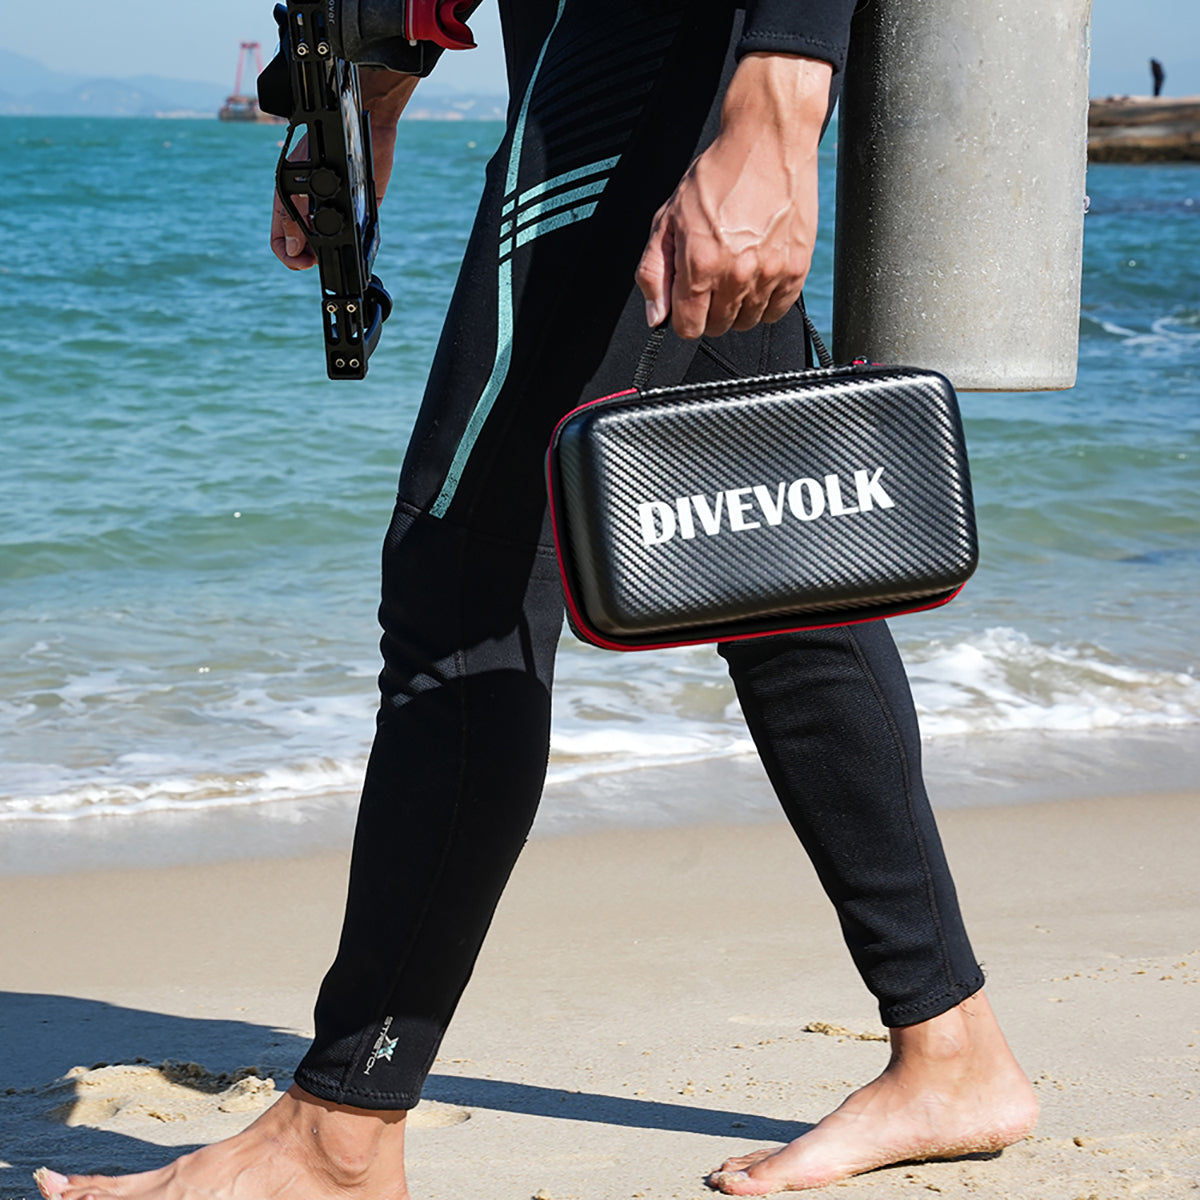
Protection en déplacement
Que vous soyez à pied sur la plage ou en bateau, votre équipement est exposé aux intempéries. Un bon étui le protège du sable, de l'eau et des chutes accidentelles. L'étui DIVEVOLK est conçu pour les plongeurs en déplacement.

Vérifications de l'équipement
- Avant chaque plongée, inspectez minutieusement le joint torique de votre caisson étanche afin de vérifier l'absence de sable, de cheveux ou de débris susceptibles de compromettre l'étanchéité.
- Une fois sous l'eau, évitez d'ouvrir le boîtier sous aucun prétexte. Cela pourrait emprisonner de l'humidité à l'intérieur, qui risque de se condenser sur l'objectif lorsque l'appareil chauffe, et ainsi gâcher votre prise de vue.

La sécurité en plongée avant tout
- Plongez toujours avec un binôme, surtout si vous vous concentrez sur la photographie.
- Soyez très attentif à votre profondeur, à votre réserve d'air et aux limites de non-décompression. Il est facile de se laisser distraire en cherchant la photo parfaite.
- En cas de dysfonctionnement de votre équipement, comme une fuite du caisson étanche, interrompez immédiatement la plongée et remontez en toute sécurité. La caméra ne vaut pas la peine de prendre un tel risque.
Protéger le monde sous-marin
- Ne jamais toucher aux coraux ni aux autres organismes marins. Vos nageoires représentent l'un des plus grands dangers pour un récif ; restez attentif à votre position afin d'éviter de casser les coraux fragiles.
- Ne nourrissez pas les animaux et ne les appâtez pas pour prendre une photo.
- Faites attention à l'éclairage. Évitez de diriger un puissant flash stroboscopique ou une lampe vidéo directement vers les yeux de petites créatures sensibles pendant une période prolongée.
Partie V : La voie de l'amélioration
Devenir un grand photographe sous-marin est un parcours d'apprentissage continu.
- Commencez par les eaux peu profondes : Entraînez-vous à utiliser votre appareil photo en faisant de la plongée en apnée dans une zone calme et peu profonde. Cela vous permettra de vous familiariser avec les commandes et les réglages sans les complexités supplémentaires de la plongée sous-marine.
- Étudiez les maîtres : Admirez le travail de photographes sous-marins de renommée mondiale comme Alex Moutarde et Brian SkerryAnalysez leur utilisation de la lumière, de la composition et du sujet pour inspirer votre propre créativité.
- Suivre un cours : De nombreux centres et complexes de plongée proposent des cours spécialisés en photographie sous-marine. Ces cours sont précieux pour apprendre des techniques avancées comme le positionnement du flash, l'utilisation du snoot et la compréhension du comportement animal auprès de professionnels expérimentés. Vous pouvez également consulter les ressources d'organisations telles que… PADI.

La magie de la photographie sous-marine réside dans la capture d'un monde que peu ont la chance de contempler. C'est une passion qui récompense la patience, le savoir-faire et, par-dessus tout, un profond respect pour l'océan. En maîtrisant votre matériel, en comprenant le comportement de la faune marine et en pratiquant sans cesse, vous découvrirez les possibilités infinies qui se cachent sous la surface.
